
A one pan chicken orzo recipe comes together in about 30 minutes: sear chicken thighs, toast the orzo, simmer it in broth, then melt in Parmesan. Pan size is the main condition, so choose a large one.
It suits easy weeknight dinner recipes because the whole meal stays in one pan and the cooking stages follow a fixed order. The sections below explain that order, the quantities and timings that published versions use, and what changes when you swap the pasta or the pan.
How the one-pan method works
Every stage happens in the same pan, in a fixed order: chicken thighs sear first, the orzo toasts, broth goes in, and Parmesan goes in last. Each step uses what the previous one left behind. The pasta never needs its own pot of water, because it cooks directly in the liquid that becomes the sauce.
Our Salty Kitchen sears the thighs undisturbed before the orzo goes in and finishes by stirring until the cheese melts into a creamy sauce. Micia Mamma’s version toasts the orzo in the pan for about 3 minutes before any liquid is added. Both approaches use the same logic: build flavour with dry heat first, then let the pasta absorb the liquid.
The practical consequence is that the finish matters more than the start. Orzo keeps absorbing liquid as it sits, so the sauce can tighten quickly once the heat is off. Take the pan off the heat when the dish still looks slightly saucy, and add the cheese at the end rather than earlier.
Pan choice and ingredient quantities
Choosing the pan
Use a wide, large pan. Our Salty Kitchen specifies a large 12-inch skillet, which gives the thighs room to sear in contact with the surface and gives the orzo space to simmer. Chelsea’s Messy Apron instead recommends a large 5.5 to 6 quart nonstick pot for best results.
A cast iron pan also works. The same recipe was tested in a cast iron pot and worked well, but it cooks faster, so stir more often. If you cook in cast iron, check the orzo earlier than the timings below suggest.
Quantities that published versions use
Two published versions are scaled differently, so pick one and keep its ratios rather than mixing them.
- Chicken thighs: Our Salty Kitchen uses 1.5-2 lb of boneless skinless chicken thighs, about 6 thighs.
- Chicken broth: the same skillet recipe uses 2 cups of chicken broth, which the orzo absorbs during a covered simmer.
- Parmesan, skillet version: 1/3 cup finely grated, stirred in at the end.
- Orzo, pot version: Chelsea’s Messy Apron lists 1-1/2 cups of uncooked orzo for 4 servings, with 1 cup of finely grated Parmesan, divided, plus whole milk for the creamy base.
The Parmesan amounts differ a lot between the two versions, which suggests the cheese level is a matter of taste. Start with the smaller amount if you like a lighter sauce, and add more at the end, a spoonful at a time.
Cooking stages and timings
The table collects the timings the two main sources give. The skillet method sears first and simmers covered. The pot method simmers the orzo in a milk-based sauce while stirring. Treat them as two different methods rather than adding them together.
| Stage | Time | Planning use |
|---|---|---|
| Sear thighs, first side | 6-7 minutes, undisturbed | Leave the thighs alone until they are golden brown. |
| Sear thighs, second side | 3 minutes longer | A shorter second side finishes the browning. |
| Covered simmer in broth (skillet version) | 15 minutes, or until the broth is mostly absorbed | Judge by the liquid left in the pan rather than the clock alone. |
| Orzo simmer in sauce (pot version) | 7-10 minutes, stirring occasionally | Stop when the orzo is nearly tender and the sauce is still slightly soupy. |
| Whole pot version | Prep 15 minutes, cook 15 minutes, total 30 minutes | This is the version to follow when dinner has to be on the table in 30 minutes. |
Sear and covered-simmer times come from Our Salty Kitchen, and the stirred simmer and total time come from Chelsea’s Messy Apron.
The sear-first skillet method takes longer on the clock than the pot version. It also gives a more browned chicken. Choose it when you have time, and choose the pot version when you need speed.
Sear the thighs
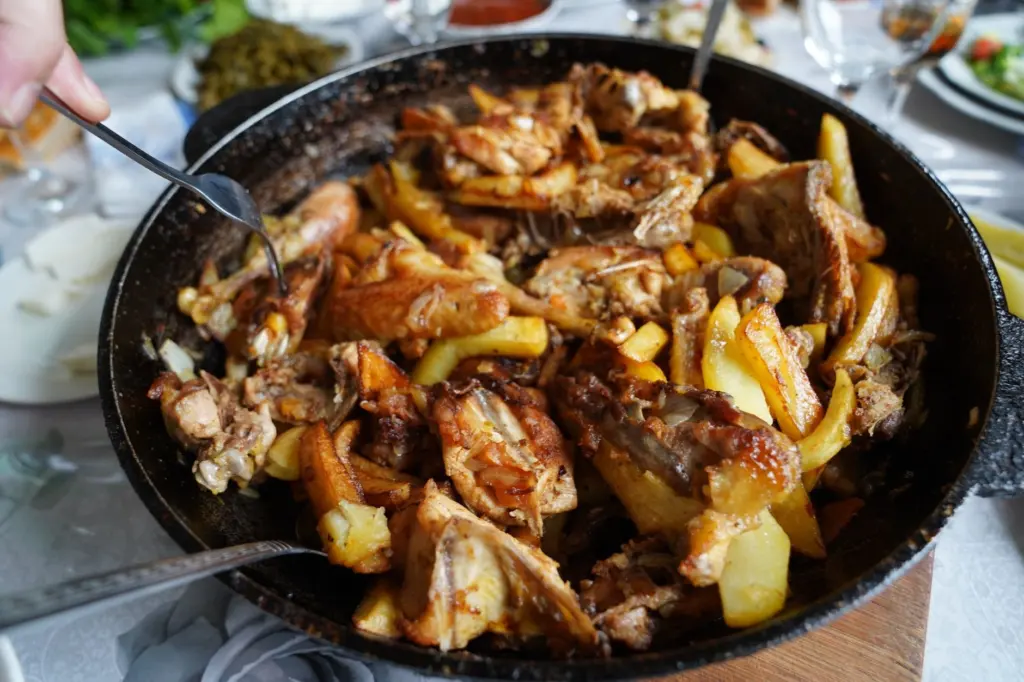
Brown the chicken thighs before anything else goes into the pan. Our Salty Kitchen’s instruction is to sear until golden brown for 6-7 minutes without moving them, then flip and sear for 3 minutes longer. Micia Mamma’s gives about 7 minutes per side, until nicely browned. Because the two ranges overlap, colour is a better guide than the exact minute.
Toast and simmer the orzo
Add the orzo and stir it in the pan so it toasts briefly before any liquid goes in. Micia Mamma’s toasts it for about 3 minutes. Then pour in the broth and bring it to a simmer.
- Add the liquid: use the broth quantity from the recipe you chose, and keep the heat at a gentle simmer.
- Cover or stir: in the skillet version, cover and simmer for 15 minutes, or until the broth is mostly absorbed. In the pot version, cook for 7-10 minutes, stirring occasionally.
- Check the texture: Chelsea’s Messy Apron stops when the orzo is nearly tender and the sauce is still slightly soupy. Micia Mamma’s tomato version simmers about 12 minutes, until the sauce has reduced and the orzo is cooked.
Start checking at the early end of the range, especially in a cast iron pan, since orzo that is still a little saucy will finish absorbing liquid off the heat.
Finish with Parmesan
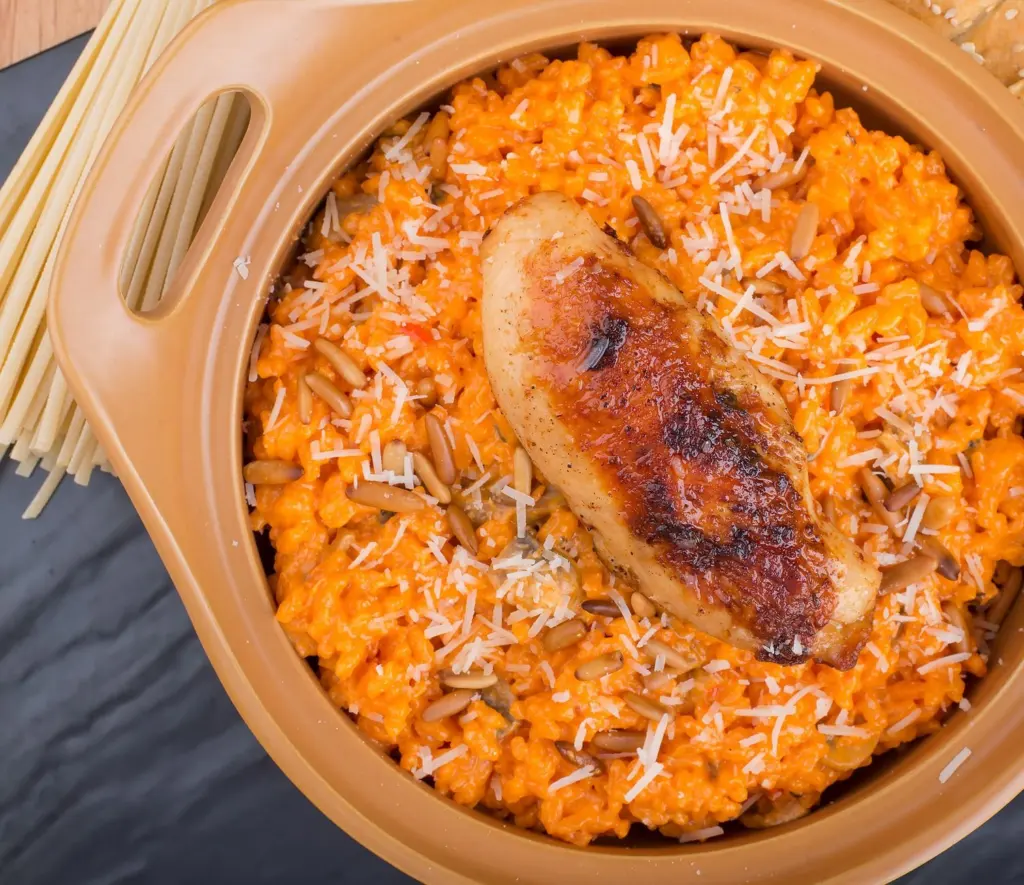
Take the pan off the heat or lower it to a minimum, then stir in the cheese. The skillet recipe says to stir until the cheese melts into a creamy sauce and any peas have warmed through. Add the Parmesan in portions if you want to control how thick the sauce becomes.
Swaps for orzo and the pan
Small pasta shapes are the easiest swap. Kim’s Cravings notes that ditalini or small shells may work, though the texture and cook time could vary. In practice, that means you should taste the pasta early and expect to adjust how long it simmers, rather than trusting the orzo timings.
The pan is the other variable. A large skillet and a large nonstick pot both appear in tested recipes, and cast iron cooks faster. Whichever you choose, the pan should be wide enough that the chicken is not crowded and the orzo is not piled deep.
Making ahead, storing and reheating
You can cook this dish ahead and eat it from the fridge. Our Salty Kitchen says leftovers keep for up to 3 days in a sealed container, and Chelsea’s Messy Apron gives up to 3 days in an airtight container once the dish has cooled. Kim’s Cravings, writing about an oven-baked version, allows 4-5 days. For the stovetop dish, the shorter window is the safer plan.
When reheating, add a little milk or broth to make the dish creamy again. Orzo keeps absorbing liquid in the fridge, so the sauce thickens overnight, and a splash loosens it.
More small-batch recipes
If you cook for a small household, the same quick approach works for breakfast and dessert. Try Perfect Pancakes For Two: A Quick, Foolproof Recipe For Fluffy Morning Bliss – Asmallbite for a morning meal, or Perfect Small-Batch Sugar Cookies: The Quick 1-Dozen Recipe For Soft, Cuttable Cookies – Asmallbite when you want something sweet after dinner.
Frequently asked questions
Can I freeze chicken orzo?
Freezing is not recommended. Our Salty Kitchen says orzo dishes don’t freeze well, although leftovers reheat nicely from the fridge. Kim’s Cravings has not tried freezing the bake, so how it turns out after thawing is unknown.
Can I use pre-grated Parmesan from a can?
Avoid it. Chelsea’s Messy Apron says canned pre-grated Parmesan is too salty and melts less smoothly, so grate a block of Parmesan finely instead.
Does the type of milk matter?
Yes, for the creamy pot version. Chelsea’s Messy Apron calls whole milk essential for a thick, creamy texture, so lower-fat milk will give a different result.